.png "image-(29)")
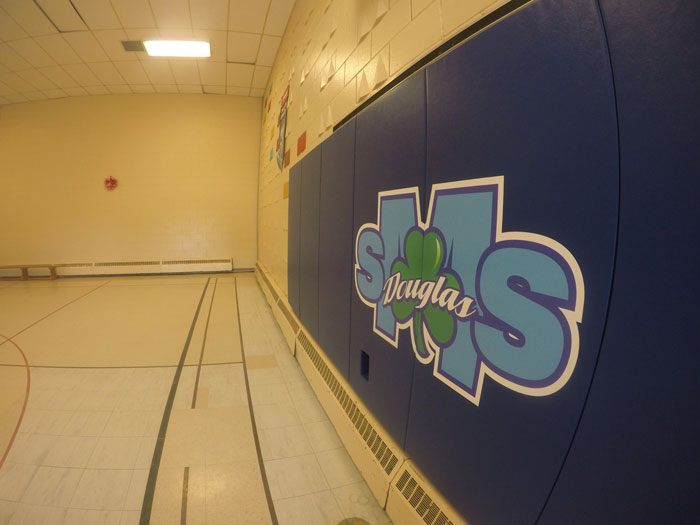
One of our more popular products is our suite of custom wall padding solutions. These solutions range from completely padded rooms and gymnasiums to small padded areas strategically placed in high-impact zones such as beneath basketball goals.
While simple in theory, depending on the intended use of these padding solutions, they can become quite complex and customized. With doorways, corners, electrical outlets and switches all adorning wall surfaces in most buildings, each padding job entails certain nuanced design elements.
Our team specializes in the installation of all of the equipment and infrastructure that we manufacture and sell but oftentimes, the organizations that we provide the equipment to are well suited for the job. When it comes to large-scale bleachers and grandstands, many leave the installation process to the professionals. But when it comes to padding, most experienced maintenance staff are more than equipped to handle the job.
If you have recently placed an order of permanent wall padding with us, have no fear. In addition to the detailed instructions provided in each sales order, we will also break it down in a step-by-step manner here as well as in the video posted below.
Feel free to comment with any questions you might have or contact a member of our sales team, should you require additional support with the installation of wall padding.
Measure & Mark
You likely have a good idea as to where you would like your prospective padding to be positioned on the wall, so now is the time to properly plan it out, measure and mark the area for installation. Using a laser level and tape measure, mark the desired height of the padding with a level and ensure it is centered when necessary. This always applies to padding solutions that are installed beneath basketball systems, for example.
Prepare Your Pads
Get each panel of padding prepared by leaning them against the wall in the order as prescribed, if applicable. At this point, you will want to go through and pre-drill holes using a drill bit into the top and bottom of each padding panel to make the installation process easier.
Secure the Padding to the Wall
Most walls in gymnasiums are constructed using concrete, so ensure the proper hardware is used. In these cases, TAPCON screws are your best choice unless the surface is something other than concrete, such as drywall.
You will need at least two people to complete this job as one person holds the padding in place along the previously marked areas while the other follows with a drill, securing the padding to the wall one panel at a time.
Clean Up
Oftentimes drilling into wall surfaces produces a fair amount of dust and other debris, often left on the top and on the surfaces of your newly installed padding. Using a clean cloth and some soap and water solution, go over the entire surface starting at the top to ensure the pads are clean and ready for use.