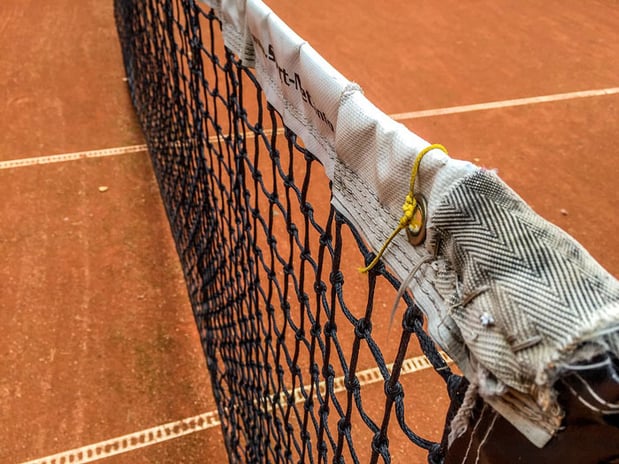
You’ve done your research, shopped around for the best pricing, and selected the right tennis posts and nets for your newly built tennis court or existing court. As you move closer to the day when you will be able to welcome new participants to your courts, the planning process begins with how to install these pieces of equipment.
While we do offer our installation services on nearly everything we sell or service, many of our products can be installed by the end user, including our new line of tennis nets.
Officially sized and made with 1-3/4” square mesh braided solid core polyethylene, our tennis nets lead the industry and are relatively easy to install on your court.
If you already have your tennis posts on site, you won’t need much else to get started on the installation process.
Lay Out Your Net
With your posts installed on either side of the court, lay out your tennis net between the two posts and identify whether or not your posts are equipped with a hook or hole to accommodate the netting cable.
For posts with a hooking mechanism, simply attach the loop on the end of the net to the hook on the post. Crank each side of the net to tighten the netting just slightly before moving to the next step.
Tighten and Centre Net
With both sides of the netting secured to the posts, you will want to begin the centering process by adjusting both sides to have the same amount of space between the net and posts. As for the height in the centre of the net, you will want to measure at 38” at this point.
Now you will insert the dowels into the side pockets on each side of the netting for support.
Lace Net
At this point, you will want to ensure the net is square, then lace the netting with the included lacing cord. With most tennis posts, many are equipped with standard lacing bars for ease of operation. If not equipped, simply lace around the posts to further secure the netting.
Final Measurements
Now that the installation process is complete, you will want to once again ensure that each side of the netting is square and that the net is centered to 36”. Before gameplay, the net should feel tightly secured, but not overly strained between the two posts.
.png)

